Replacing a laptop screen can be a delicate process, but with the right tools and careful steps, you can do it yourself. Here's a step-by-step guide to help you replace a laptop screen:
Step 1: Gather the necessary tools
Before you begin, make sure you have the following tools handy:
Screwdriver (usually Phillips or Torx, depending on your laptop)
Tweezers or small pliers
Anti-static wrist strap (optional but recommended)
Microfiber cloth or lint-free cloth
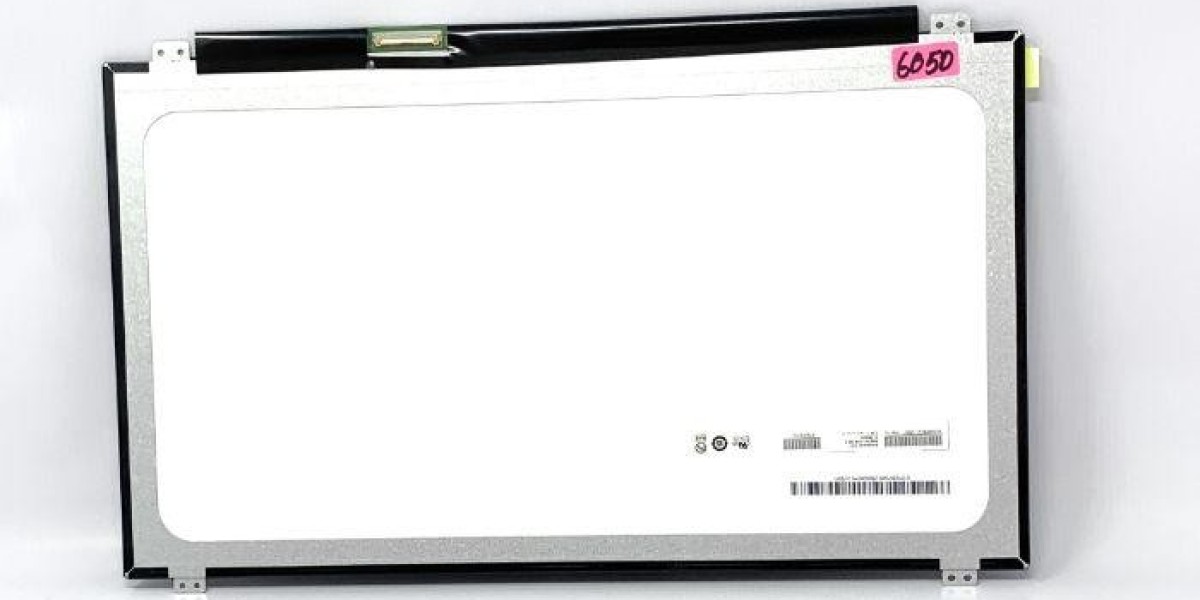
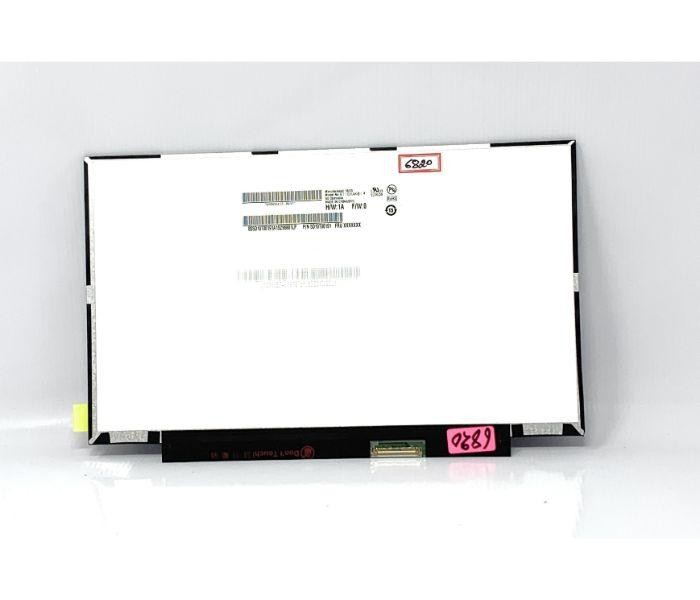
Replacement laptop screen (make sure it's compatible with your laptop model)
Step 2: Power off the laptop and disconnect all cables
Turn off your laptop and unplug it from the power source. Also, remove any peripheral devices such as USB drives or external monitors. This will prevent any accidental damage and ensure your safety during the replacement process.
Step 3: Remove the battery (if possible)
If your laptop has a removable battery, remove it to minimize the risk of electric shock while working on the screen replacement. If your laptop's battery is not removable, make sure it's fully charged and proceed with caution.
Step 4: Remove the bezel or frame around the screen
Carefully examine the bezel or frame surrounding the screen. Look for small rubber or plastic covers hiding the screws. Use a small screwdriver or your fingernail to gently pry off these covers. Unscrew the screws that secure the bezel in place. Keep these screws in a safe place as you'll need them later.
Step 5: Gently detach the bezel from the screen
Once the screws are removed, gently pry the bezel away from the screen using your fingers or a plastic opening tool. Be careful not to apply excessive force as the bezel may have clips or adhesive holding it in place. Slowly work your way around the screen until the bezel is completely detached. Set the bezel aside.
Step 6: Disconnect the screen cable
Locate the screen cable, which is usually a thin ribbon cable or a cable with a connector at the end. Carefully disconnect it from the back of the screen. Some connectors have small tabs or locks that need to be released before disconnecting the cable. Use tweezers or small pliers if needed, but be gentle to avoid damaging the cable or connector.
Step 7: Remove the damaged screen
Once the cable is disconnected, you can remove the damaged screen. Lay the laptop down on a soft surface and gently tilt the screen forward. Support the back of the screen with one hand while using the other hand to unscrew any mounting brackets or screws that secure the screen to the frame. Carefully lift the screen away from the frame and set it aside.
Step 8: Install the new screen
Take the new replacement screen and align it with the frame. Make sure the connectors on the back of the new screen match the connectors on your laptop. Secure the new screen in place using the mounting brackets or screws that you removed in the previous step.
Step 9: Reconnect the screen cable
Carefully reconnect the screen cable to the connector on the back of the new screen. Make sure it's securely attached and that any locks or tabs are properly engaged. Take extra care to avoid applying excessive pressure on the cable or connector.
Step 10: Test the new screen
Before reassembling the laptop, connect the power cable and turn it on to test the new screen. If the display appears correctly and there are no issues, proceed to the next step. If you encounter any problems, double-check the connections and consult your laptop's user manual or manufacturer's website for troubleshooting tips.
Step 11: Reassemble the laptop
Once you're confident that the new screen is working properly, carefully place the bezel back onto the laptop. Press it gently to snap it into place or use adhesive if necessary. Secure the bezel with the screws you removed earlier and replace any rubber or plastic covers.
Step 12: Attach the battery (if applicable) and power on the laptop
If you removed the laptop's battery, reattach it securely. Plug in the power cable and turn on the laptop to ensure everything is functioning correctly. If the new screen displays properly and there are no issues, congratulations! You have successfully replaced your laptop screen.
Remember, if you're not confident in your technical skills, it's always best to seek professional assistance or take your laptop to a certified repair center.